Omakase, a Japanese term meaning ‘I’ll leave it up to you’, has become a popular concept in the world of beauty, particularly in nail art. It’s all about trusting the artist to create a unique and personalized design. Now, you can bring this concept to your own manicure, either solo or with your nail artist.
To start, gather inspiration and create a moodboard with images and colors that evoke the desired atmosphere. This will help you and your artist understand the direction you want to take your nail design.
Curating Your Palette
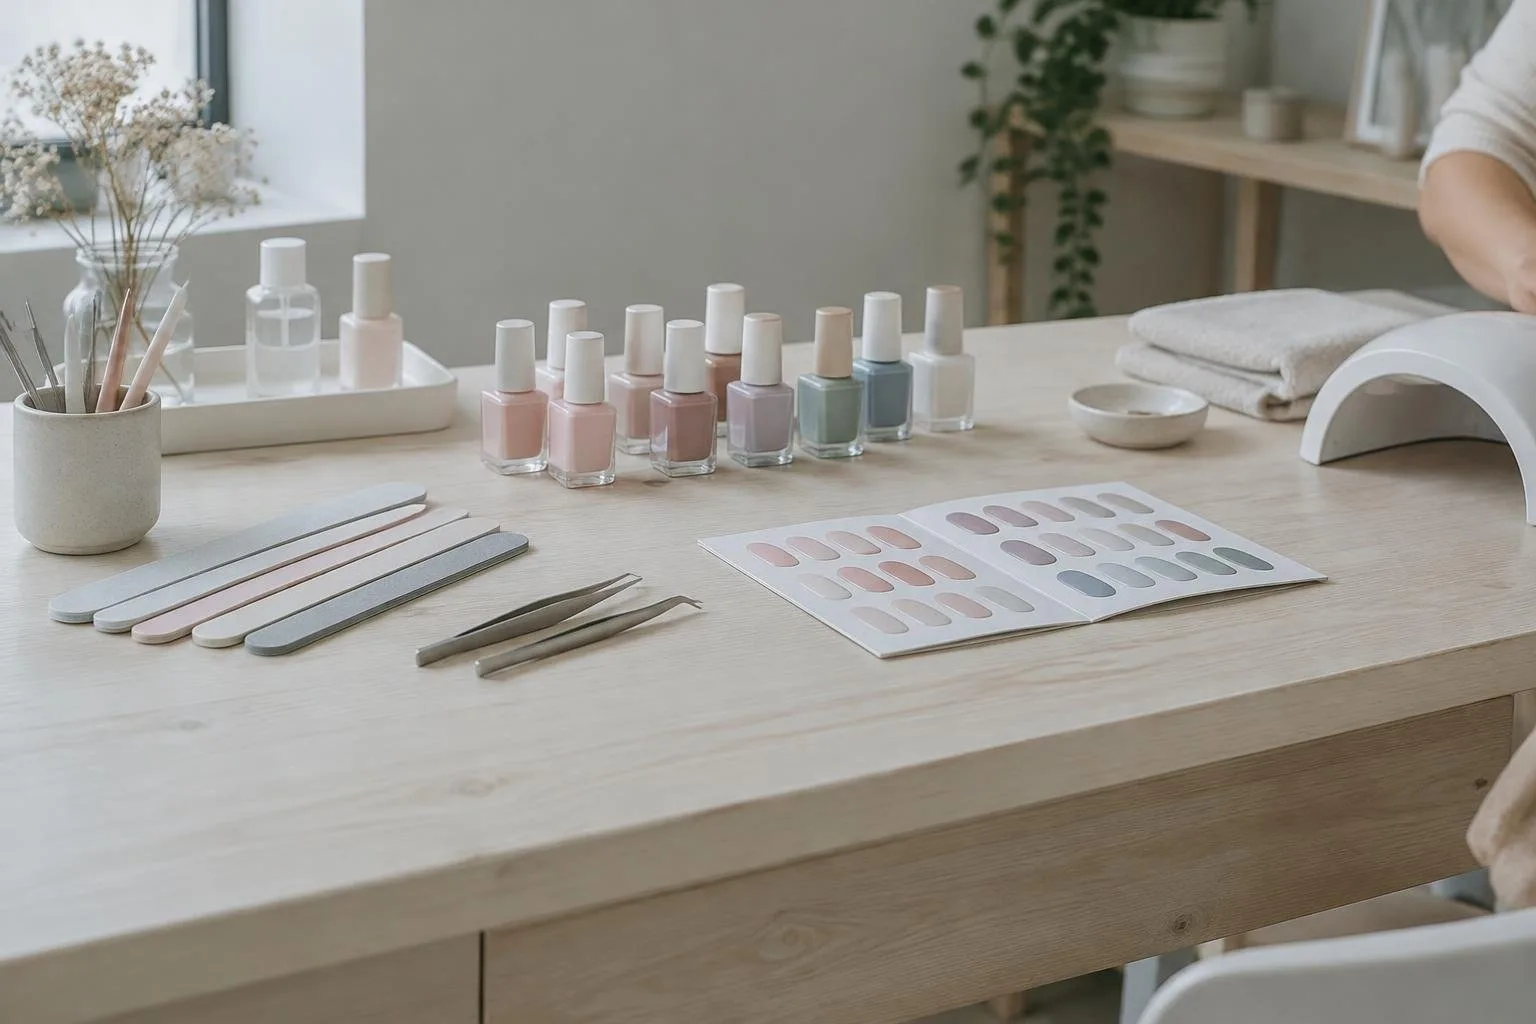
Once you have your moodboard, it’s time to curate your color palette. Choose a few colors that resonate with your moodboard and complement your skin tone. Consider the 60-30-10 rule, where 60% of the design is a dominant color, 30% a secondary color, and 10% an accent color.
Adding Textural Accents
To add depth and interest to your design, incorporate textural accents such as glitter, rhinestones, or stamping. These elements can enhance the overall look and create a more dynamic design.
Working with Negative Space
Negative space is an essential aspect of omakase nail design. It’s the empty space between and around the design elements. By carefully balancing positive and negative space, you can create a visually appealing and harmonious design.
Finishing Touches
Finally, to ensure your bespoke nail art lasts, apply a long-wear top coat and finish with a cuticle oil or cream to hydrate your nails and cuticles. With these steps, you can achieve a unique and editorial-worthy manicure that reflects your personal style.
By following these guidelines and trusting your creativity, you can bring the omakase concept to your nail art and enjoy a one-of-a-kind manicure experience. Whether you’re a seasoned nail artist or a DIY enthusiast, this tutorial will help you unlock your full potential and create stunning, bespoke nail designs.