The way our eyebrows sit on the face can change how people read our expressions and assess our features. For many of us, brows accentuate the eyes, define the cheekbones, and help communicate emotion; they are small but powerful facial elements. As time passes, it’s common to notice sparser hairs, receding tails, longer unruly strands, or greying that alters the overall contrast of the face. Understanding color and structure is the most efficient route to brows that look intentional rather than accidental.
Fortunately, refining your brows doesn’t require strenuous routines—just a few well-chosen techniques and products. Using a reliable template and the correct shades will speed up your routine and make results predictable. In this guide you’ll find clear rules for selecting brow color, step-by-step advice for locating the ideal start and end points of the brow, and product suggestions for coverage, volume, and hold including practical options for grey or white hairs.
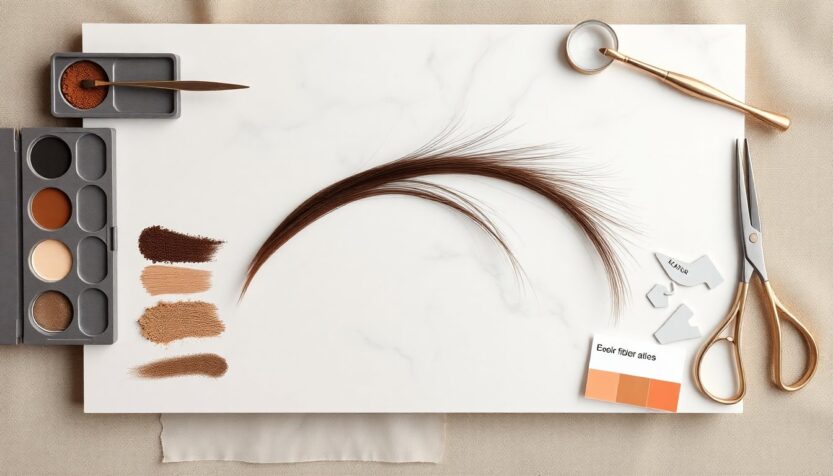
Choosing the right color
Color sets the stage: pick a shade that complements both your hair and skin. A useful rule is to stay within one or two shades of your natural hair—either slightly lighter or darker—depending on whether you want a subtle or more dramatic effect. Equally important is matching the shade’s undertone: a cool-toned person will usually look best with cool brow shades, while warm-complexioned people benefit from warmer pigments. If you’re unfamiliar with your undertone, testing swatches in natural light or checking product descriptors like “cool brown” or “warm taupe” can prevent costly mistakes.
Options for grey, white, or silver brows
When brows turn grey or white, many people assume only grey pencils will work, but alternatives exist. Light or deep grey and taupe often blend beautifully with silver hair, and taupe in particular can give a soft, natural finish. A few brands carry grey-specific eyebrow pencils—look to widely available options from NYX, Benefit Cosmetics, and Sephora’s own lines. Keep in mind that pressure affects pigment: pressing lighter yields a softer mark, while firmer strokes make the color more intense, so practice strokes on the back of your hand before committing.
Finding and creating the ideal shape
Shape anchors the face. To locate where brows should begin, align a pencil vertically from the side of the nose to the brow area; that is your start. To find the tail, rotate the pencil so it runs from the side of the nose through the outer corner of the eye—the intersection indicates the end. Rebuilding lost tails or fronts is a common challenge and may make brows look uneven. The best way to recreate symmetry without over-tweezing is to use a shaping aid that guides placement rather than guessing freehand.
Why a headband-style stencil works better
Reusable stencils that strap around the head hold both brows in the same alignment, freeing both hands for product application. These kits typically include several shapes so you can choose a template with a slightly higher arch or a gentler curve depending on your preference. Using a stencil lets you trace a consistent outline and then fill it in, which is especially helpful when hair is patchy or one brow differs from the other.
Products and finishing touches
Pick the medium that matches the result you want: powder gives a soft, diffused look, while pencils and pens create hair-like strokes for definition. For adding volume, fiber-infused gels such as e.l.f. Wow Brow or Benefit’s Gimme Brow thicken the appearance of sparse arches. If hairs are stubborn, choose a strong-hold formula like ABH’s Brow Freeze Gel or Rare Beauty’s Brow Harmony Flexible Lifting Gel. For grey or white hairs that need coverage, Maybelline’s Express Brow Fast Sculpt Eyebrow Gel Mascara is one of the few drugstore products designed to mask lighter strands.
To recreate brows: position the headband-style eyebrow stencil, lightly trace the chosen outline with a pencil, and fill the interior with powder or pen for density. Add a volumizing gel if hair is sparse and a setting gel if it is unruly. Keep the top of the brow more filled than the underside to preserve openness between the lash line and the brow—this small detail prevents the eyes from looking heavy. With the right color, consistent shaping, and finishing products, you can reliably achieve balanced brows that flatter your face.
Join the conversation
How have your brows changed over the years, and which part of the routine feels hardest—color matching, shaping, or control? If you’ve discovered a favorite tool or product, share it with others to help them experiment efficiently. For those seeking targeted advice for mature brows, channels and creators who focus on 50+ makeup can also be a helpful resource for product demos and technique videos.